API Tokens for Jira Documentation
Introduction
Increase security for Jira REST API connections from external services with API Tokens instead of username and passwords
Create API Token #back to top
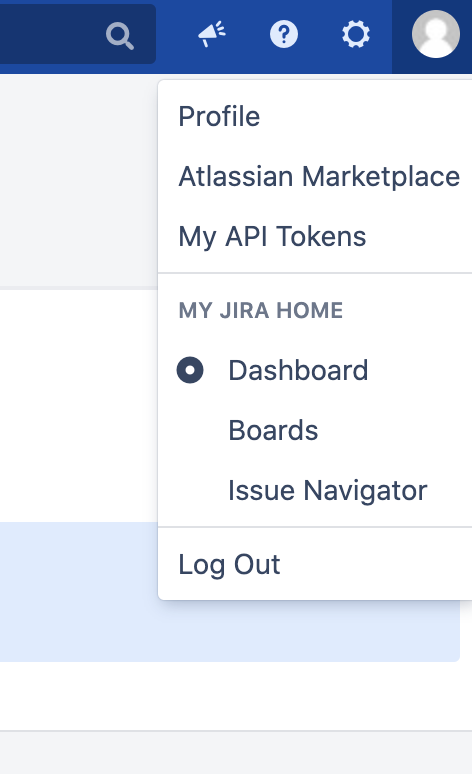
- Step 1 - Click profile icon on the right corner of Jira header.
-
- Step 2 - Click "Create API Token" button.
-
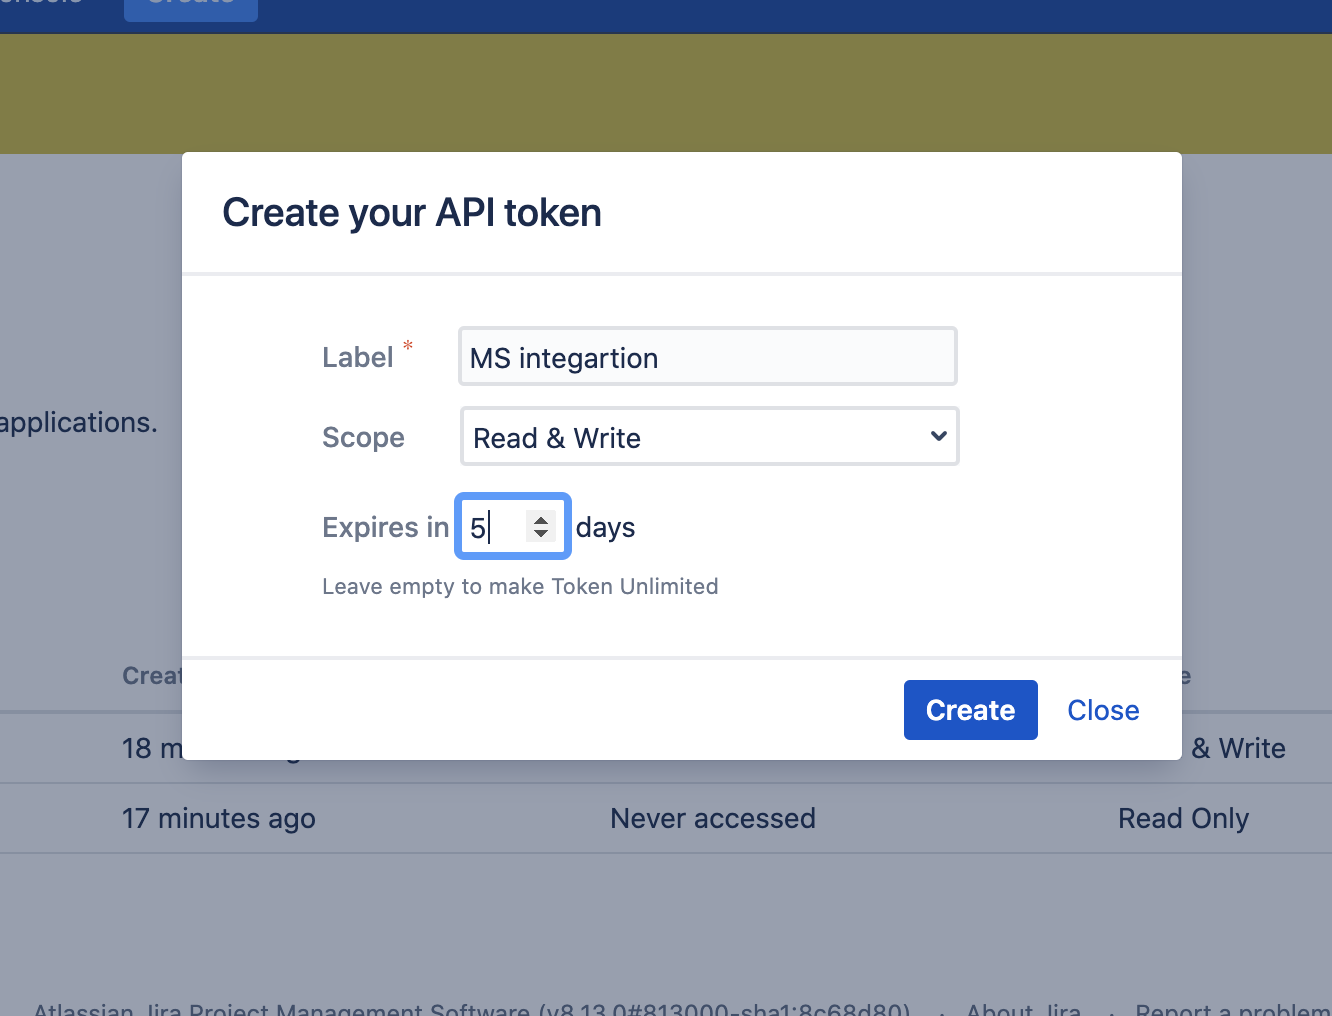
- Step 3 - Enter required information about
your Token:
- Label - API token label that will be displayed on the My Tokens table.
- Scope - There are currently two token scopes available.
- Read Only - Only the GET, HEAD and OPTIONS HTTP request types are allowed, using a token on endpoints requiring any other type will result in a 403 Forbidden error.
- Read & Write - Allow all HTTP request types
- Expires In - Token expiration time in days (leave empty to make Token unlimited)
- Step 4 - Click "Create" button.
-
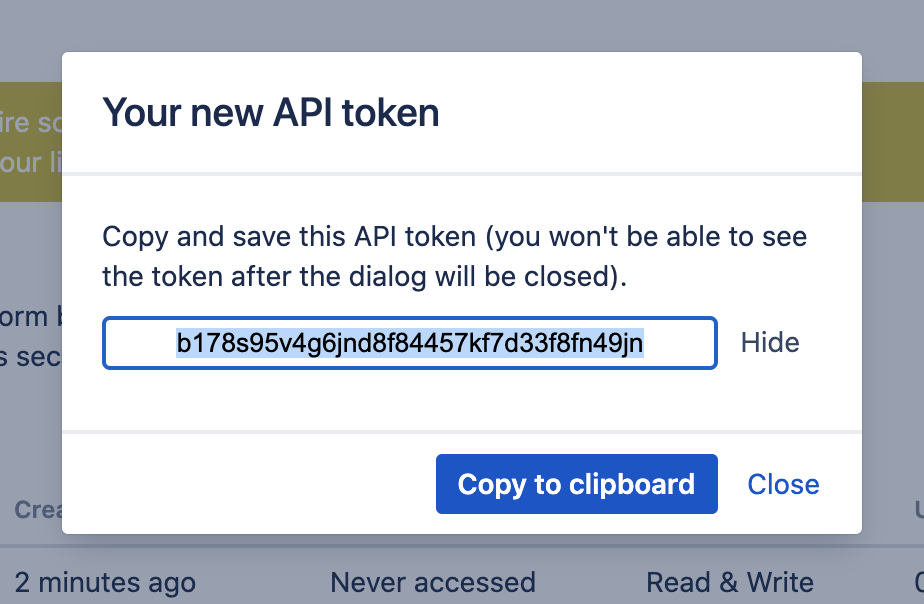
- Step 5 - Click "Copy to clipboard" button and save token (you won't be able to see the token after dialog will be closed).
Disable username/password API authentication #back to
top
- Step 1 - Go to the settings page.
- Step 2 - Find API Token "Configuration" tab
-
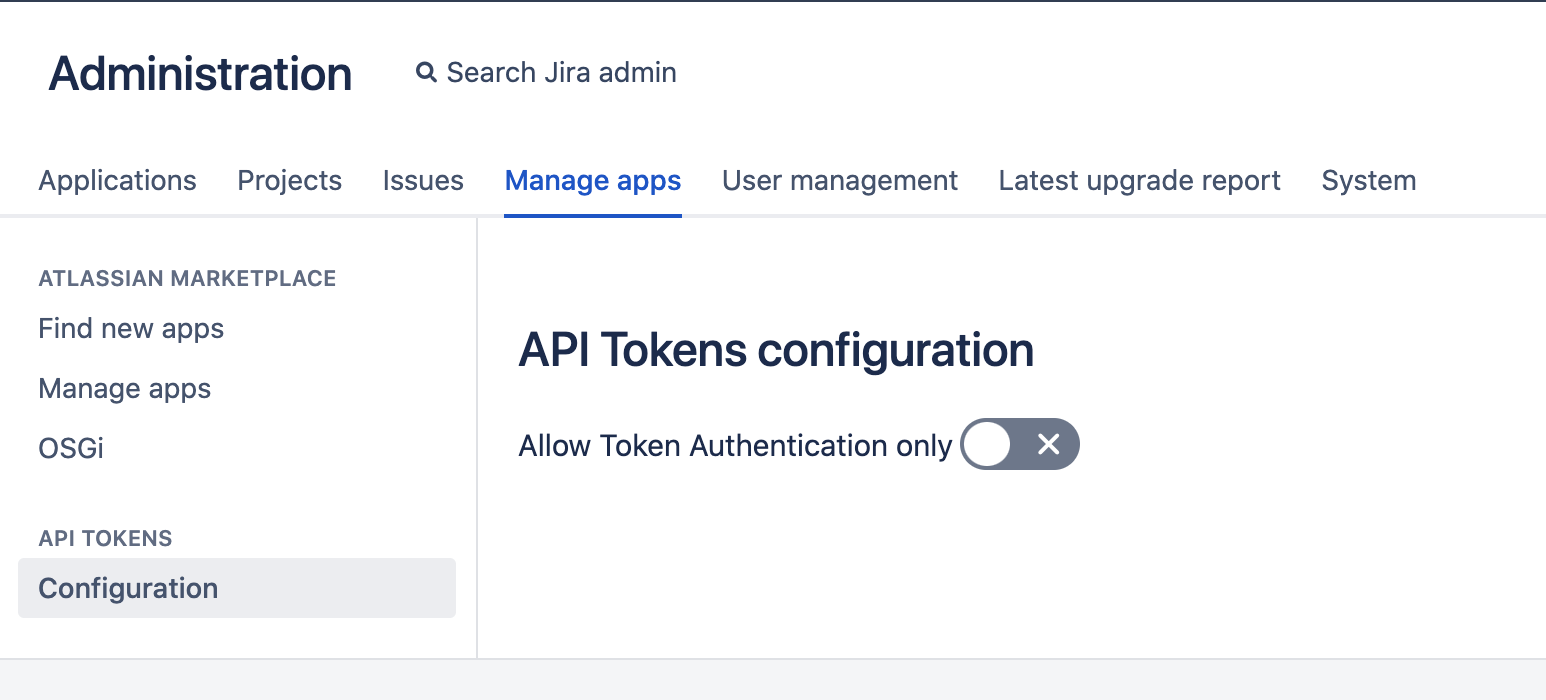
- Step 3 - Switch toggle to enable/disable username/password API authentication
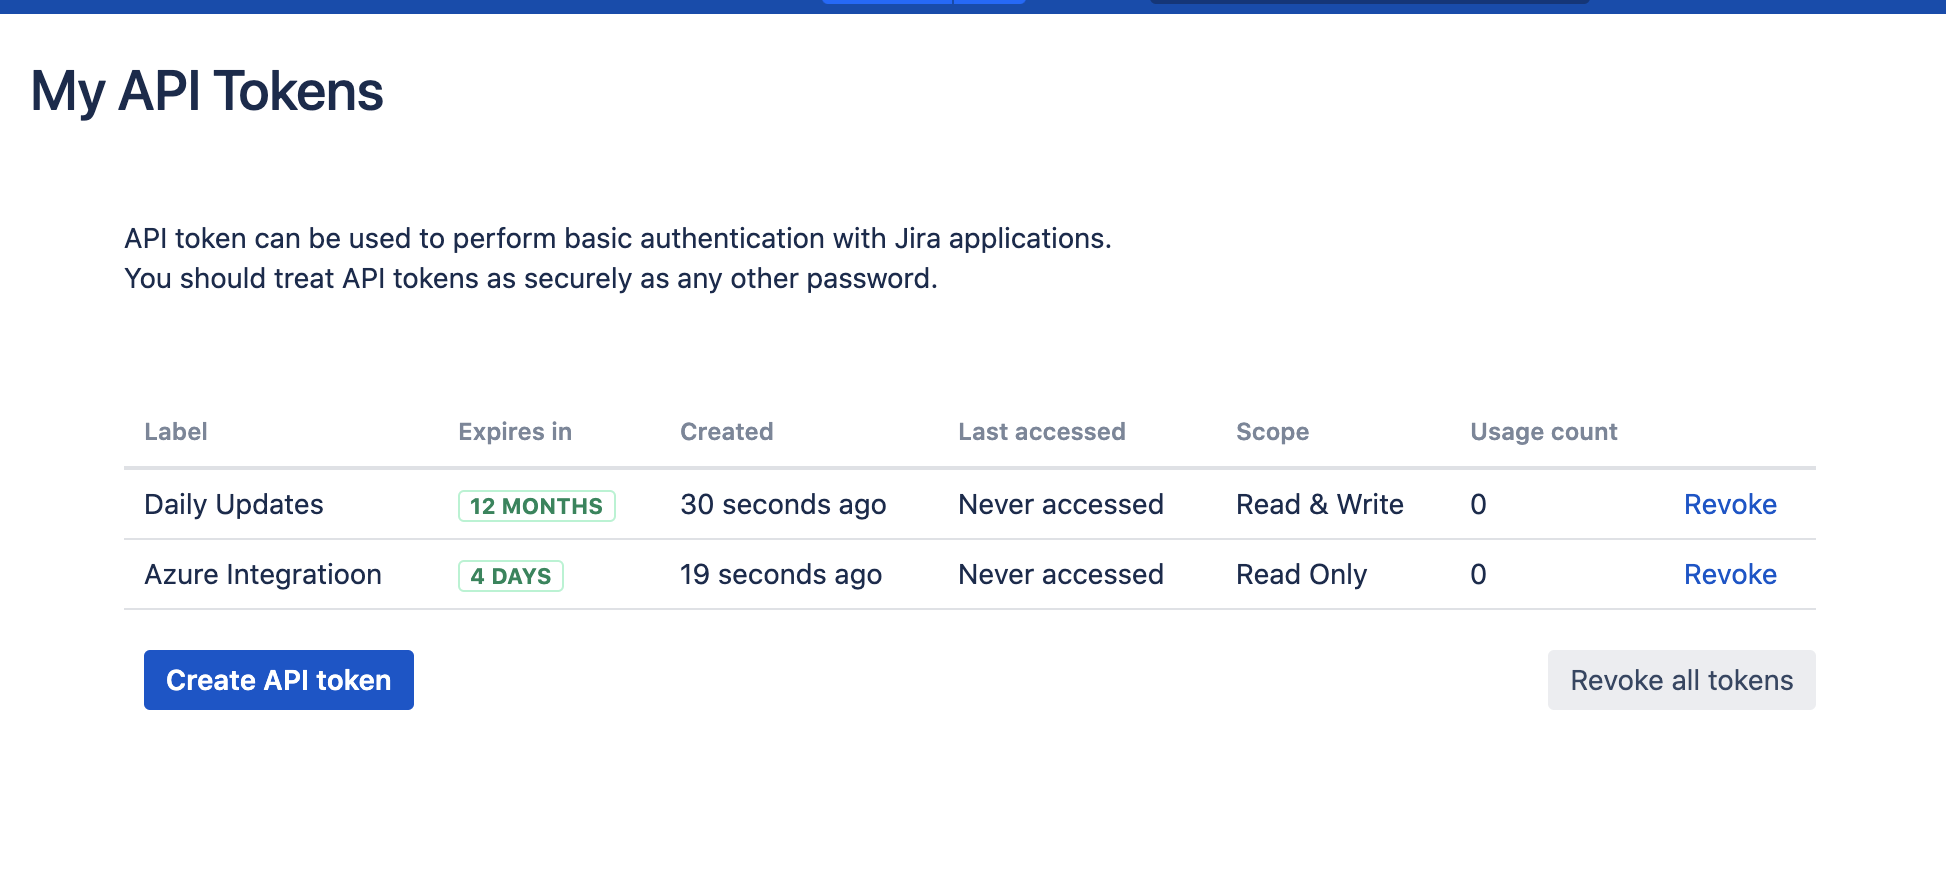
Manage tokens page #back to
top
- Step 1 - Click profile icon on the right corner of Jira header
-
- Step 2 - Click "My API Tokens".
-
- Step 3 - Create new or revoke existing API Tokens.
Usage Examples #back to
top
- Postman
-
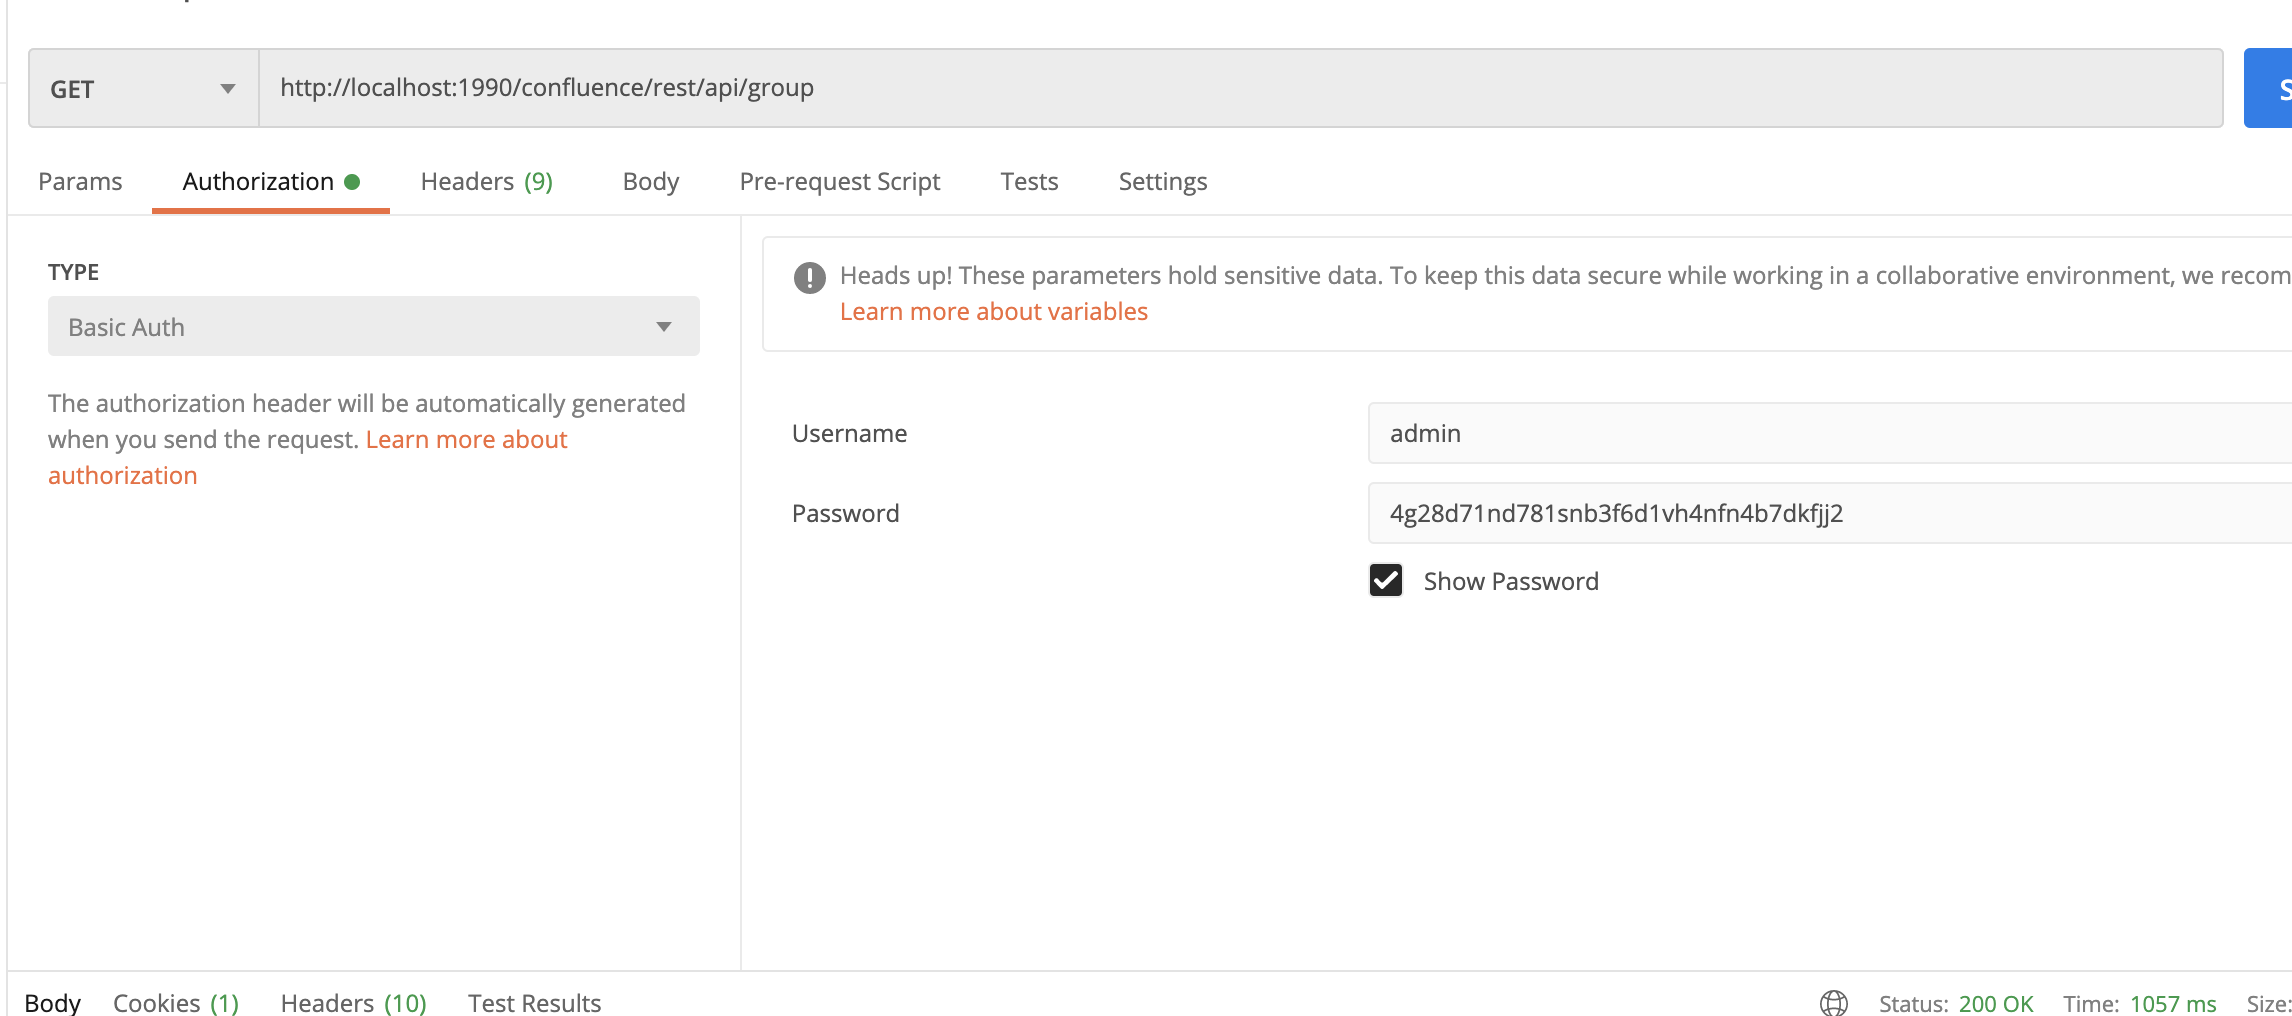
- Curl:
- curl -s {baseurl}/rest/api/latest/configuration --user {username}:{token}