Overview Back to top
Time Tracking is where you log the hours you spend on Jira issues. Each entry is a regular Jira worklog, so it also shows on the issue itself.

Log Time Back to top
- Open the dialog — click any day cell in the grid, or click Log Work in the toolbar.
- Pick the Item — choose one of your recently viewed issues, or search by issue key or summary.
- Set the date and hours — the date defaults to today.
- Add a Work description — optional, but helpful for whoever reviews your timesheet.
- Choose a Category — only shown when your admin has set up categories.
- Click Submit — the entry appears in the grid right away.
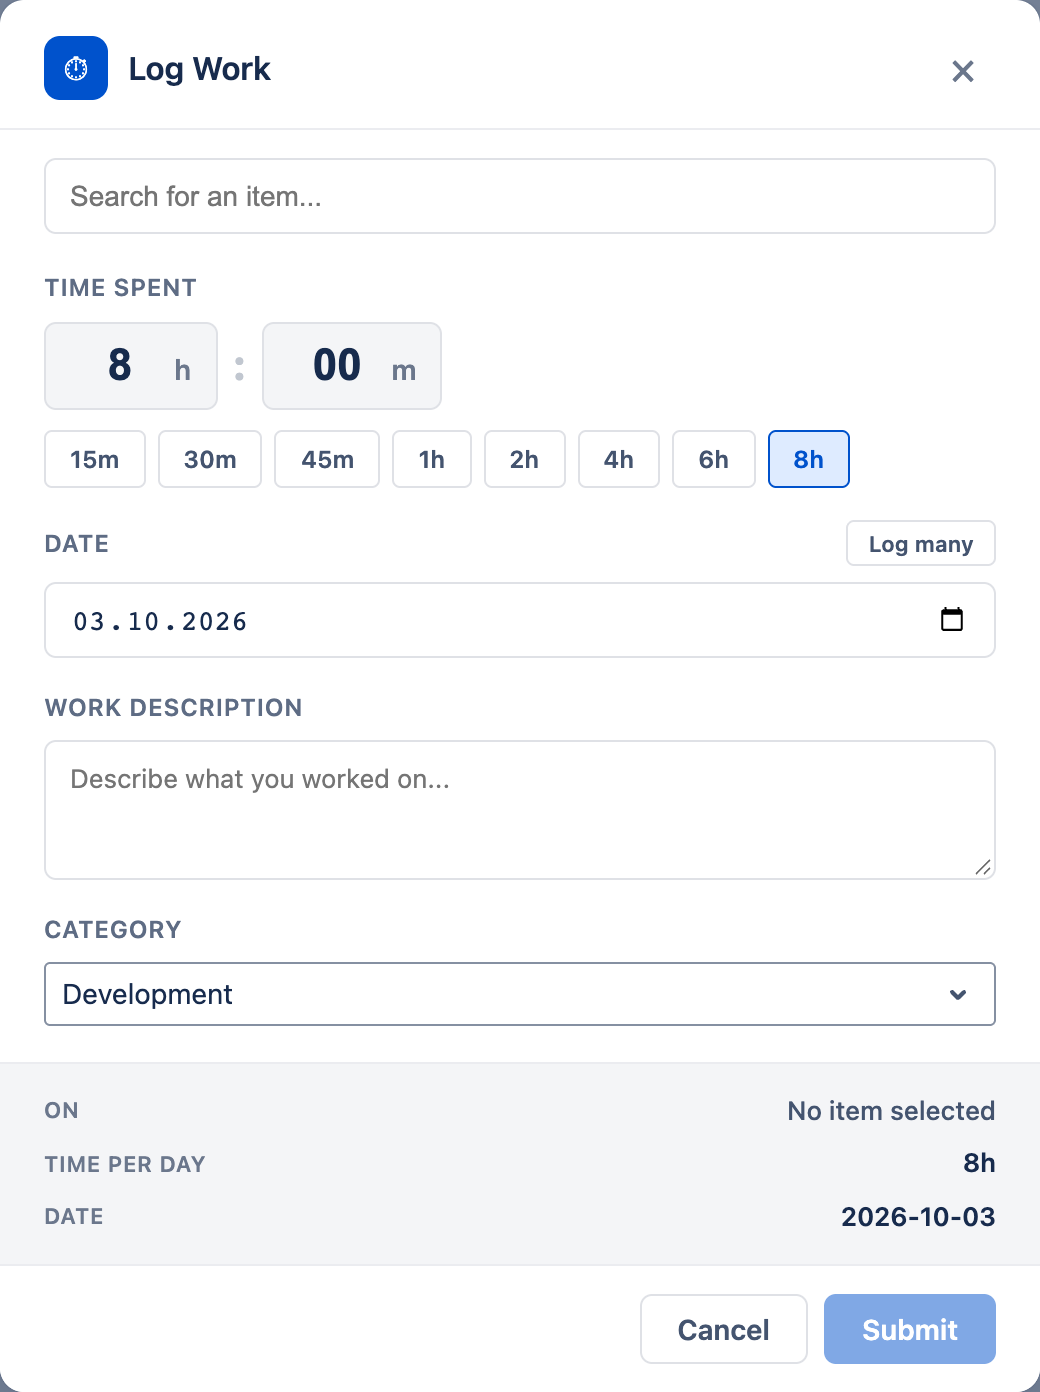
Turn on Log many to add the same entry to every working day in a date range — handy for recurring work such as daily meetings.
You can’t log time in the future or more than one year in the past.
Categories (for example, Billable and Non-Billable) let you break hours down in timesheets and reports. Admins manage them in Settings → Worklog Categories.
Timer Back to top
Click Start timer in the toolbar and pick an issue. The button shows the time as it runs. Click Stop timer when you’re done — the Log Work dialog opens with the issue and time filled in, ready to check and submit. Only one timer runs at a time.

The Grid Back to top
The grid shows one row per issue and one column per day, with totals for each issue and each day. Switch between two layouts in the toolbar:
- Table — issues as rows, hours in the cells.
- Stack — each day as a column of cards, one card per worklog.
Choose a period
Use the period picker to pick Current Week, Last Week, Last 2 Weeks, Current Month, Last Month or Custom Range. The arrows move to the previous or next period, and Today brings you back to the current one.
Edit & Delete Back to top
- Click a cell that has hours to see all worklogs for that day.
- To change one, click the pencil icon. The Edit Worklog dialog opens; make your changes and click Save changes.
- To remove one, click the delete icon and confirm.
Submit for Approval Back to top
When timesheet approval is turned on, click Submit for Approval at the end of each period. The view must match your submission period: if the button is hidden, switch to a week, two weeks or a month, whichever your team uses.
A banner shows where your timesheet stands: Draft, pending approval, approved, or rejected — in which case you can edit and resubmit. See Timesheets Approval.
Jira Issue Panel Back to top
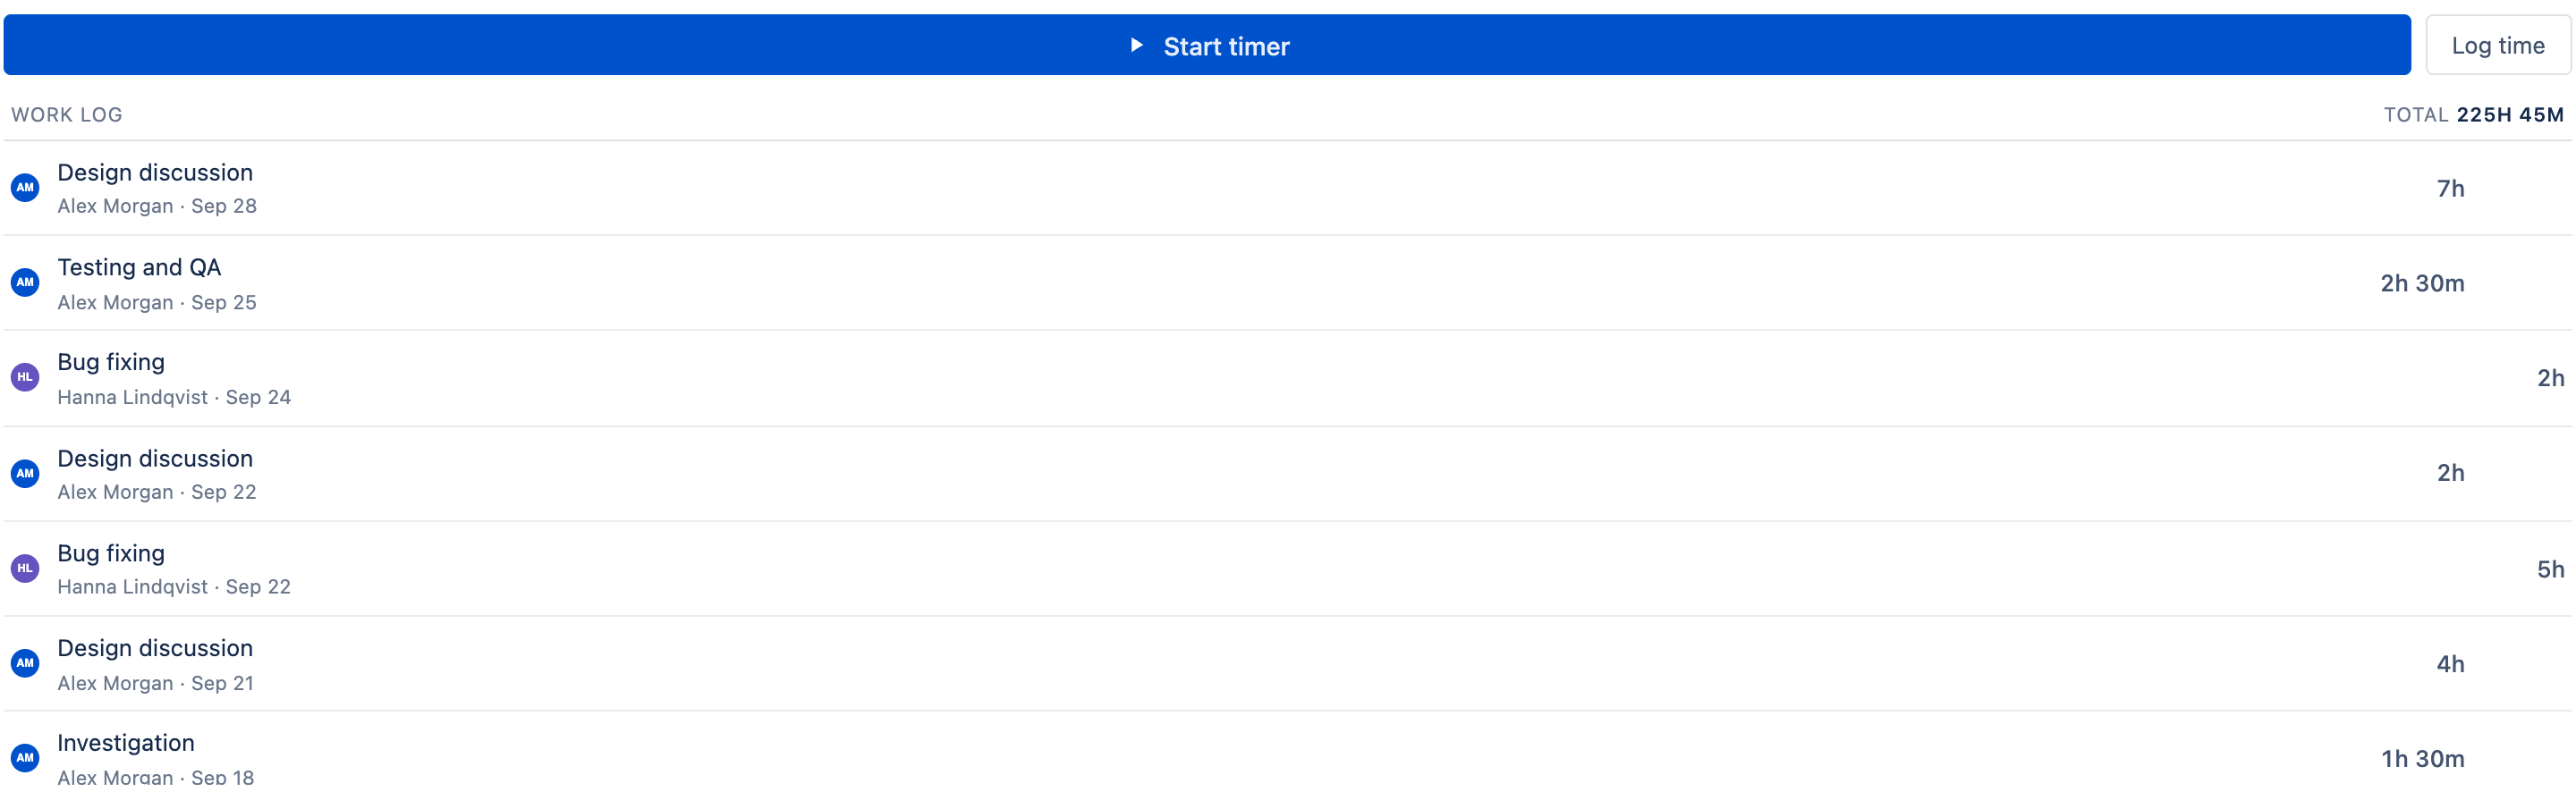
Open the Time tracking panel on any Jira issue to see every worklog on it and the total. You can log time, start the timer, and edit or delete worklogs without leaving the issue.
Export Back to top
Click the Export worklogs download icon to save the worklogs in the current period as an Excel file. Each row has the date, project, issue, hours and description.
Need Help?
If you have questions or need assistance with time tracking in Timesheets for Jira, our support team is here to help.
Contact Support